-
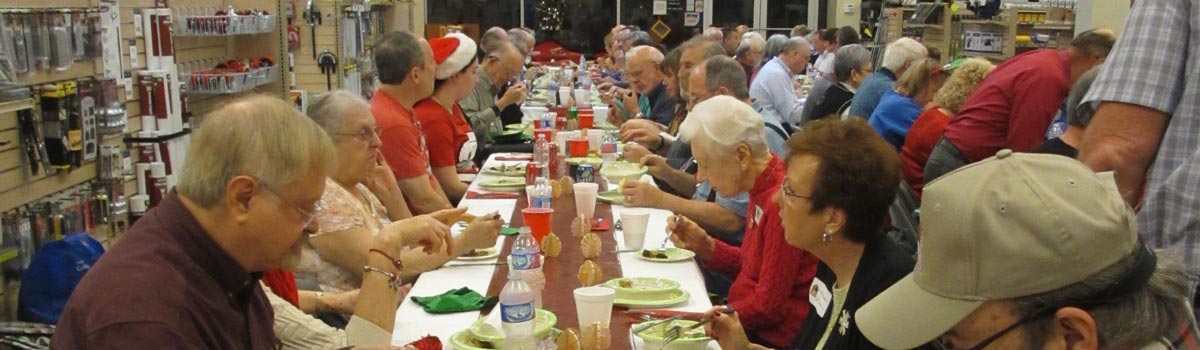
One of many annual events
A Christmas Party hosted at Peachtree Woodworkers Supply -
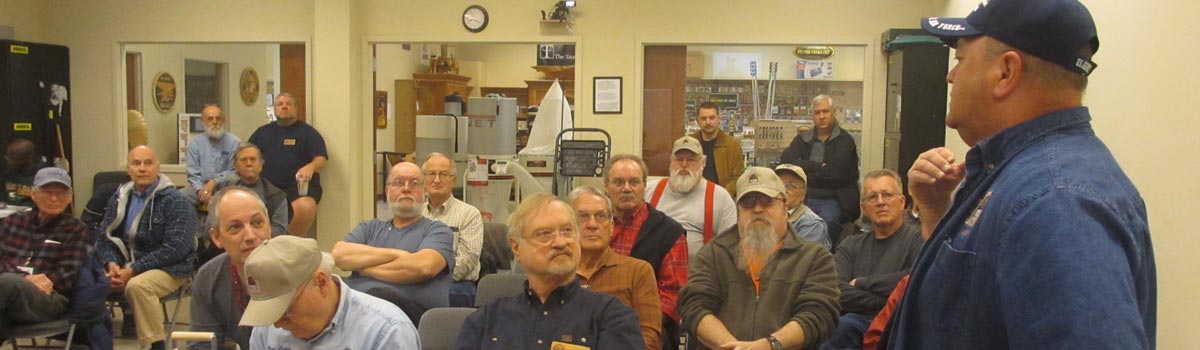
The GWA Classroom
The classroom at Peachtree Woodworking Supply in Norcross on Jimmy Carter Boulevard -

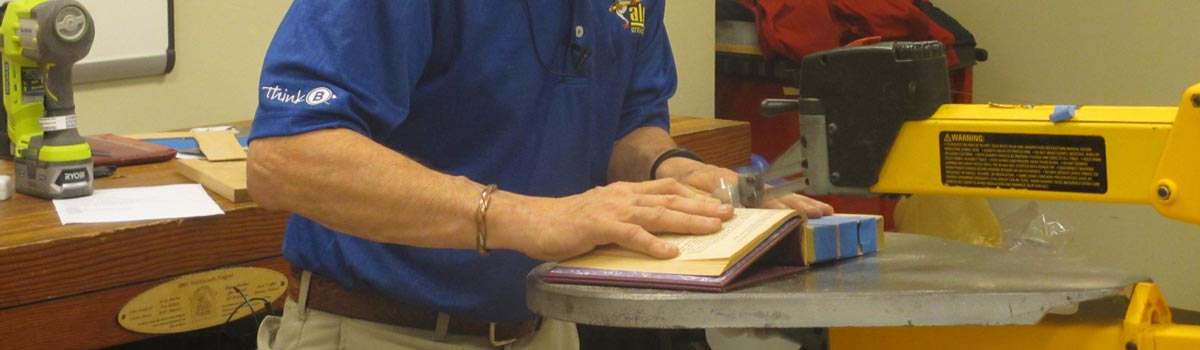
Recent Demonstration
A Saturday class demonstrating use of a portable sawmill held at a member's shop -

Woodworker's Eye-Candy
Great results from our portable sawmill demonstration -
Scroll Sawing for Everyone
Our scrollsaw group meets monthly via Zoom
- 1
- 2
- 3
- 4
- 5
![]() Located in Gwinnett County, Georgia, just northeast of Atlanta, the Gwinnett Woodworkers Association (GWA) is a 501(c)3 organization dedicated to the advancement of woodworking skills. We are a group of amateur and professional woodworkers composed of men and women, doctors, lawyers, preachers, artists, engineers, photographers, students, school teachers, college graduates, expertly trained people of all race, color and creed, as well as retirees and hardworking individuals who labor in the market place.
Located in Gwinnett County, Georgia, just northeast of Atlanta, the Gwinnett Woodworkers Association (GWA) is a 501(c)3 organization dedicated to the advancement of woodworking skills. We are a group of amateur and professional woodworkers composed of men and women, doctors, lawyers, preachers, artists, engineers, photographers, students, school teachers, college graduates, expertly trained people of all race, color and creed, as well as retirees and hardworking individuals who labor in the market place.
We usually meet at:
6684 Jimmy Carter Blvd, Suite 100
Peachtree Corners, Ga 30071
(770) 458-5539
on the second Saturday mornings each month to conduct classes and share ideas, improve our woodworking skills, and have fun. Meetings include demonstrations, lectures, hands-on sessions, and seminars teaching how to build furniture, crafts, gift items, and many other types of woodworking projects. The GWA is also chapter 192 of the American Association of Woodturners .
Whether you want to build a lake house or a dog house, if you want to build the grandson a wooden truck or build the dear spouse an heirloom jewelery chest, if you want to buy a new table saw or patch up the old bench saw - We can help you learn how or we know someone who can. We are woodworkers, woodturners, scroll sawyers, carvers, painters, contractors and more. If it involves wood then we know about it, we want to learn more about it, and we'll be happy to teach you about it too.![]() Within our club structure are three Special Interest Groups (SIG's);
Within our club structure are three Special Interest Groups (SIG's);
- The Scroll Saw SIG
- The Woodturners SIG - American Association of Woodturners Chapter 192
Some SIGs meet separately from GWA and specialize in those particular woodworking disciplines. See the section dedicated to each SIG for meeting times, and locations.
Feel free to look around our site. If you like what you see please consider attending a Saturday meeting as a guest. Some areas of this website are served to members only. If you need more information use the Contact Us link.